How to Rig AI Models for Animation in Minutes
Rig AI-generated 3D models for animation in minutes. Quick guide to adding bones, weight painting, and preparing models for game engines.
Rigging 3D models for animation has become faster and easier thanks to AI tools. Here's what you need to know to get started:
- AI Tools Simplify Rigging: Automate tasks like skeleton creation, weight painting, and lip-sync animations.
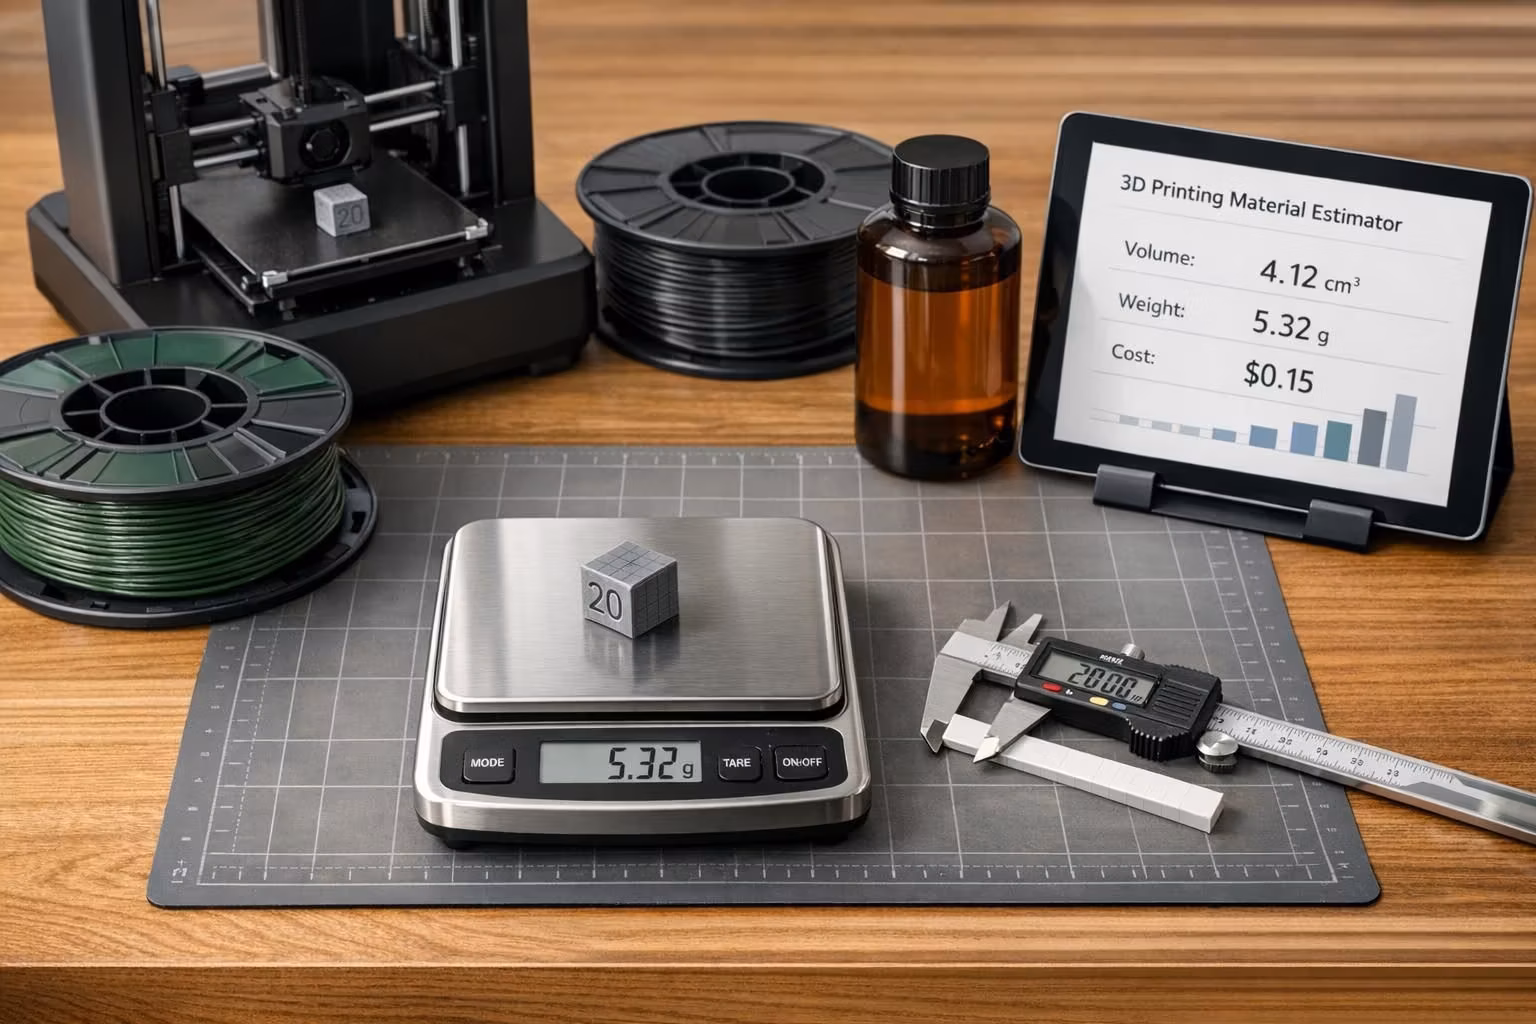
- Prepare Your Model: Clean up the mesh, reduce polygon count (under 20,000 vertices), and export in formats like FBX for compatibility.
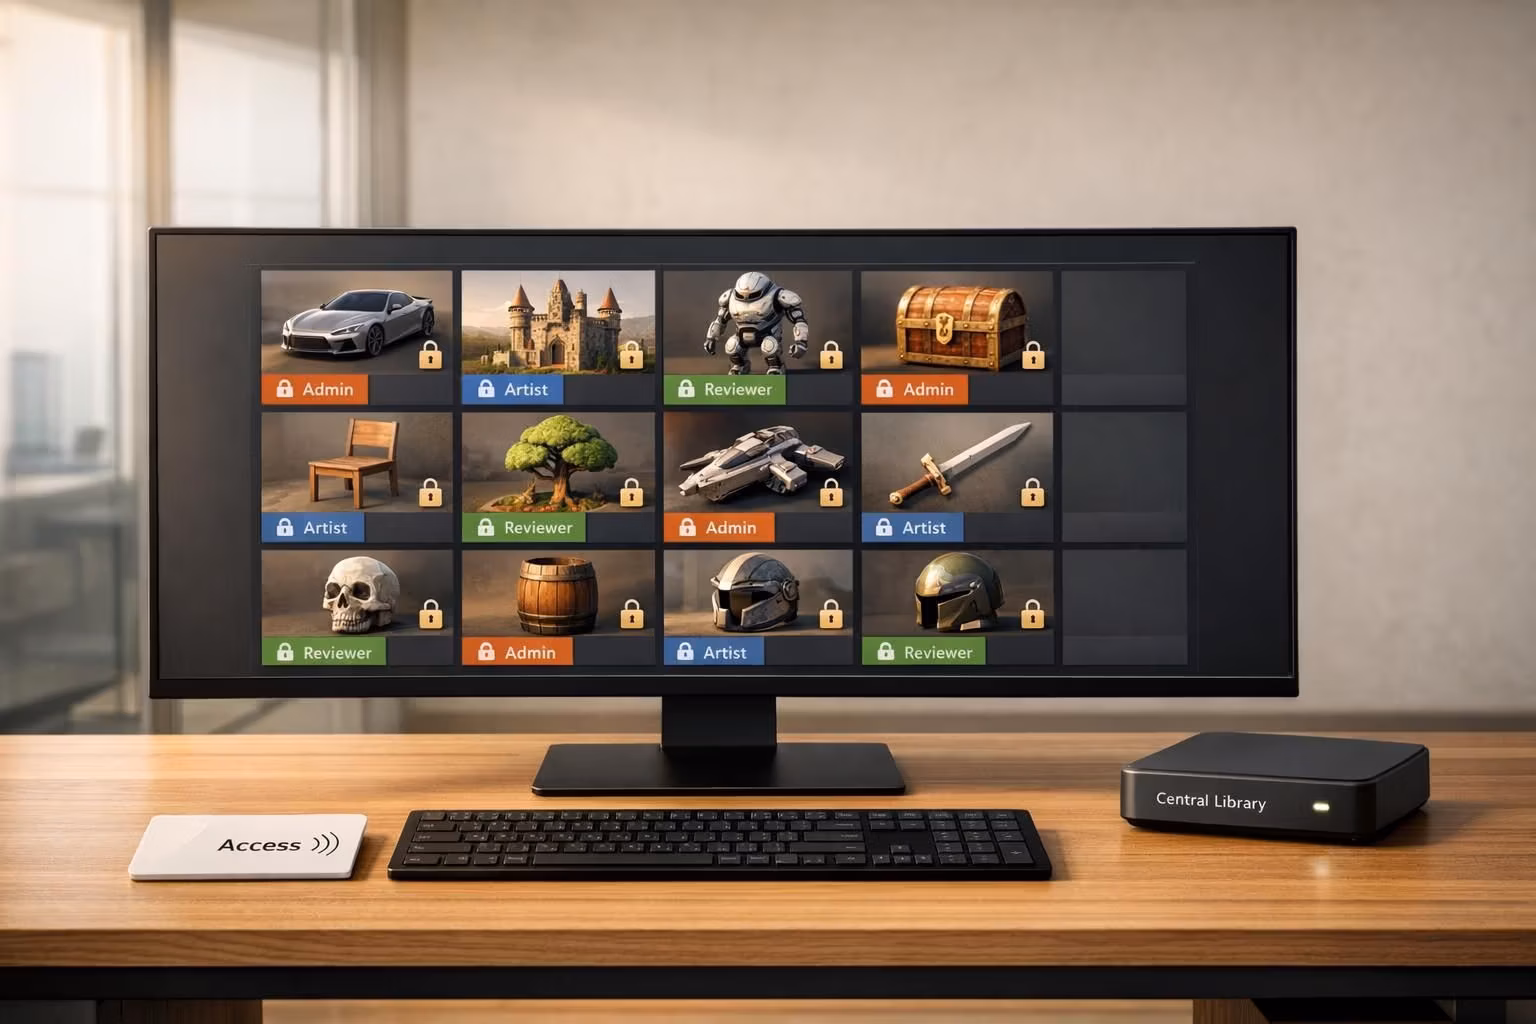
- Auto-Rigging Options: Use tools like AccuRIG for quick skeleton generation or refine with manual adjustments for better control.
- Key Techniques: Focus on weight painting, joint refinement, and IK system setup to ensure smooth, natural movements.
- Save Time: AI-enhanced workflows can cut rigging time by up to 40% compared to manual methods.
Quick Comparison of Auto-Rigging Tools
| Feature | Free AccuRIG | Advanced AccuRIG (CC4.1) |
|---|---|---|
| Basic Rigging | ✓ | ✓ |
| Bone Generation | Limited | Full Control |
| Separate Mesh Rigging | – | ✓ |
| X, Y, Z Adjustments | Basic | Advanced |
| Re-rigging Capability | – | ✓ |
With AI-powered tools and streamlined workflows, you can rig models in minutes while maintaining high-quality results.
Model Preparation Steps
Selecting Compatible Models
To ensure smooth rigging, your AI models should meet the following criteria:
| Model Feature | Requirement | Reason |
|---|---|---|
| Polygon Count | Under 20,000 vertices | Keeps models compatible with rigging tools |
| Mesh Type | Quadrilateral-based | Improves deformation and animation control |
| Model Type | Humanoid/Quadruped | Best suited for auto-rigging |
| Level of Detail | Low to medium | Speeds up processing and enhances performance |
Models exceeding 20,000 vertices can slow down the rigging process, as tools often reduce models beyond this limit. Following these guidelines simplifies cleanup and rigging.
Model Mesh Cleanup
Before rigging, check and refine your model's topology to avoid deformation issues. Pay particular attention to edge flow around curves and joints. Use these steps to prepare the mesh:
- Remove unnecessary geometry
- Fill any gaps or holes in the mesh
- Apply smoothing tools to refine surfaces
- Reduce polygon count if needed
- Ensure proper edge flow around key areas like joints
These steps help ensure smoother animations and better overall results.
File Format Requirements
Choosing the right file format is critical for rigging and animation workflows. Here's a quick breakdown:
| Format | Advantages | Best Used For |
|---|---|---|
| FBX | Includes rigging data and broad support | Professional animation workflows |
| glTF/GLB | Quick loading and web compatibility | Web-based and real-time 3D applications |
| OBJ | Universally supported | Basic model transfers |
For best results, export your cleaned model in FBX format. Make sure to enable the 'Embed Textures' option and set the path mode to 'Copy'. Also, check that material settings are configured as 'Opaque' if using PBR materials.
In April 2024, Anything World introduced add-ons for Blender and Unreal Engine, simplifying the model preparation process for their Animate Anything service.
Quick Rigging Methods
Auto-Rigging Tools Guide
AccuRIG is a free tool designed to make rigging AI-generated models quick and efficient. It works well with different types of models, such as scanned assets, digital sculptures, and stylized characters. Here's a comparison of its features:
| Feature | Free AccuRIG | Advanced AccuRIG (CC4.1) |
|---|---|---|
| Basic Rigging | ✓ | ✓ |
| Bone Generation | Limited | Full Control |
| Separate Mesh Rigging | – | ✓ |
| X, Y, Z Adjustments | Basic | Advanced |
| Re-rigging Capability | – | ✓ |
AccuRIG supports models from platforms like Sketchfab and allows direct export to popular 3D software. You can also upload your rigged models to ActorCore for animation. If auto-rigging doesn't meet your needs, using pre-built rigs might be a better option.
Working with Ready-Made Rigs
Pre-built rigs can save even more time in your workflow. To get the most out of them, follow these steps:
- Clean the Target Rig
- Remove extra elements like accessories or armor to focus on the core skeleton.
- Adjust Bone Structure
- Fine-tune essential joints and use x-axis symmetry for faster alignment. Pay close attention to:
- Leg and knee positions
- Arm and shoulder alignment
- Elbow joint placement
- Spine configuration
- Fine-tune essential joints and use x-axis symmetry for faster alignment. Pay close attention to:
- Attach the Character to the Skeleton
- Start with automatic weight painting, and then refine manually in weight paint mode for better precision.
Adjusting Rigs for AI Models
AI-generated models often need specific tweaks to perform well in animations. According to Tripo3D:
"By repurposing the existing rig, you can save time and effort while maintaining high-quality animation capabilities for the new character."
Key adjustments to focus on include:
- Joint Refinement: Manually adjust areas like shoulders, neck, and fingers to ensure smooth, natural movement.
- Pose Correction: Use pose offsets to fix posture, especially for models with unusual proportions.
- Weight Distribution: Carefully fine-tune skin weights in complex areas, such as around accessories or unique anatomical features.
For models with non-standard anatomies, double-check finger joints and skeletal alignment. AccuRIG's manual adjustment tools give you precise control over joint placement and movement, ensuring your rig matches your animation needs.
Animation Control Setup
IK System Setup
To achieve precise animation control, implement an IK (Inverse Kinematics) system by following these steps:
- Set Up the Avatar and Animator Controller
- Create an Avatar and an Animator Controller with at least one animation.
- Enable the IK Pass option in the Base Layer to activate the
OnAnimatorIKcallback.
- Add Script Controls
- Use the following methods to control joints and targets:
SetIKPositionWeightandSetIKRotationWeightto adjust the influence of the IK system.SetIKPositionandSetIKRotationto define the target positions and rotations for joints.
- For look-at functionality, use
SetLookAtWeightandSetLookAtPosition.
- Use the following methods to control joints and targets:
These IK settings integrate smoothly with the model-specific controls you'll define later.
Building Model-Specific Controls
Set up articulated controls that emulate natural human movement using revolute joints. These controls build on your rig adjustments, ensuring consistent animation performance.
Key Configuration Steps:
- Create a hierarchy of joints starting from the root.
- Define rotation limits for each joint to maintain realistic movement.
- Add custom control handles for frequently animated elements like limbs.
- Include secondary motion controls for finer details such as fingers and facial expressions.
Once the controls are in place, address any deformities by refining the mesh with accurate weight painting.
Weight Painting Guide
Weight painting ensures smooth and realistic deformations during animation. Start painting weights at the extremities (like hands or feet) and move inward. Use Blender's weight painting tools for this process:
| Tool | Primary Use | Best For |
|---|---|---|
| Draw | Apply weights directly | Initial weight assignments |
| Blur | Smooth transitions | Joint areas and deformation zones |
| Add | Increase weight influence | Strengthening bone connections |
| Subtract | Reduce weight influence | Correcting overlapping weights |
Steps for Effective Weight Painting:
- Use vertex groups to control specific mesh regions.
- Create smooth gradients between connected areas to avoid harsh transitions.
- Test the weights by posing the model in various positions to ensure proper deformation.
These techniques will help you achieve clean, natural-looking animations.
sbb-itb-d35aaa6
Animating AI-Generated Models: A Step-by-Step Guide
Rig Testing and Fixes
Once your rig is set up, it's time to test and fine-tune it to ensure everything works as expected.
Basic Movement Tests
Start by testing the rig's movements to confirm it's functioning correctly:
- Rotate each joint completely to check for proper deformation.
- Try extreme poses to spot any mesh distortions.
- Make sure controls respond smoothly without unexpected glitches.
- Confirm that IK handles maintain their influence throughout movements.
For more complex rigs, keep an eye out for mesh intersections or weight painting issues.
Common Rig Problems
While testing, you might run into a few typical issues. These usually fall into two categories:
- Weight Distribution Issues
- Mesh deformations may look unnatural.
- Vertices might not follow joint movements properly.
- Sharp creases could appear at joint bends.
- Structural Problems
- Joint hierarchy conflicts may cause unexpected movements.
- IK chains might fail during extreme poses.
- Control handles might not affect the intended areas.
Fixing these problems is key to finalizing a reliable rig.
Rig Improvement Steps
To improve your rig's performance, consider these steps:
| Improvement Area | Action Steps | Expected Outcome |
|---|---|---|
| Weight Paint Refinement | Isolate vertex groups to find problem areas | Smoother, more natural deformations |
| Control System | Add custom handles for commonly used animations | Streamlined animation workflow |
| Performance Optimization | Remove unnecessary bones and constraints | Faster viewport performance |
Real-Time Monitoring
- Monitor the rig's behavior during animation playback.
- Take note of specific poses that cause issues.
- Keep a checklist of recurring problem areas for future reviews.
Document every adjustment you make. This will not only help refine the current rig but also improve your workflow for future projects. For example, applying these techniques to AI-generated models - like those from Sloyd - can help ensure they perform at their best.
Quick Rigging Steps Review
Modern tools make rigging AI models incredibly fast. The process typically involves three steps: preparing the mesh, applying auto-rigging, and fine-tuning for the best results. Tools like Sloyd have made this process faster, cutting down tasks that used to take days into just minutes, while still delivering professional-grade outcomes through a structured workflow.
Using Sloyd for 3D Models
Sloyd simplifies pre-rigging tasks by automating UV mapping, optimizing meshes, and offering separate part exports. This makes it easier to integrate your work into other 3D software. Mike M., the CEO of an animation studio, shared his experience:
"This is the best 3D software... It gives me easy 3D creation, and it allows integration into other 3D softwares"
Here’s a quick look at Sloyd's key features:
| Feature | What It Does |
|---|---|
| Quick Customization | Easy customization of 3D templates |
| Automatic UV Mapping | Saves time by skipping manual unwrapping |
| Optimized Mesh Output | Reduces the need for cleanup work |
| Separate Part Export | Improves control during animation |
| Real-time Generation | Speeds up iterations and adjustments |
Tips for Better Rigging
Once pre-rigging is streamlined, following a few best practices can help you achieve top-notch results. José Antonio Tijerín's October 2024 demo highlighted how AccuRIG combines automation with manual fine-tuning to create precise skeleton structures.
Here’s how to get the best results:
- Begin with clean, properly scaled models.
- Use auto-rigging tools as a starting point, then refine manually.
- Test the rig thoroughly to ensure smooth performance.
- Keep a record of successful workflows to streamline future projects.
Combining automation with careful manual adjustments is the secret to efficient and polished rigging.