I've been playing around with Roblox's new BETA Texturing feature and found probably the easiest way to create custom 3D assets for your Roblox projects! As someone who’s constantly experimenting with tools to simplify my own game development workflow, this approach stood out for how fast and practical it is
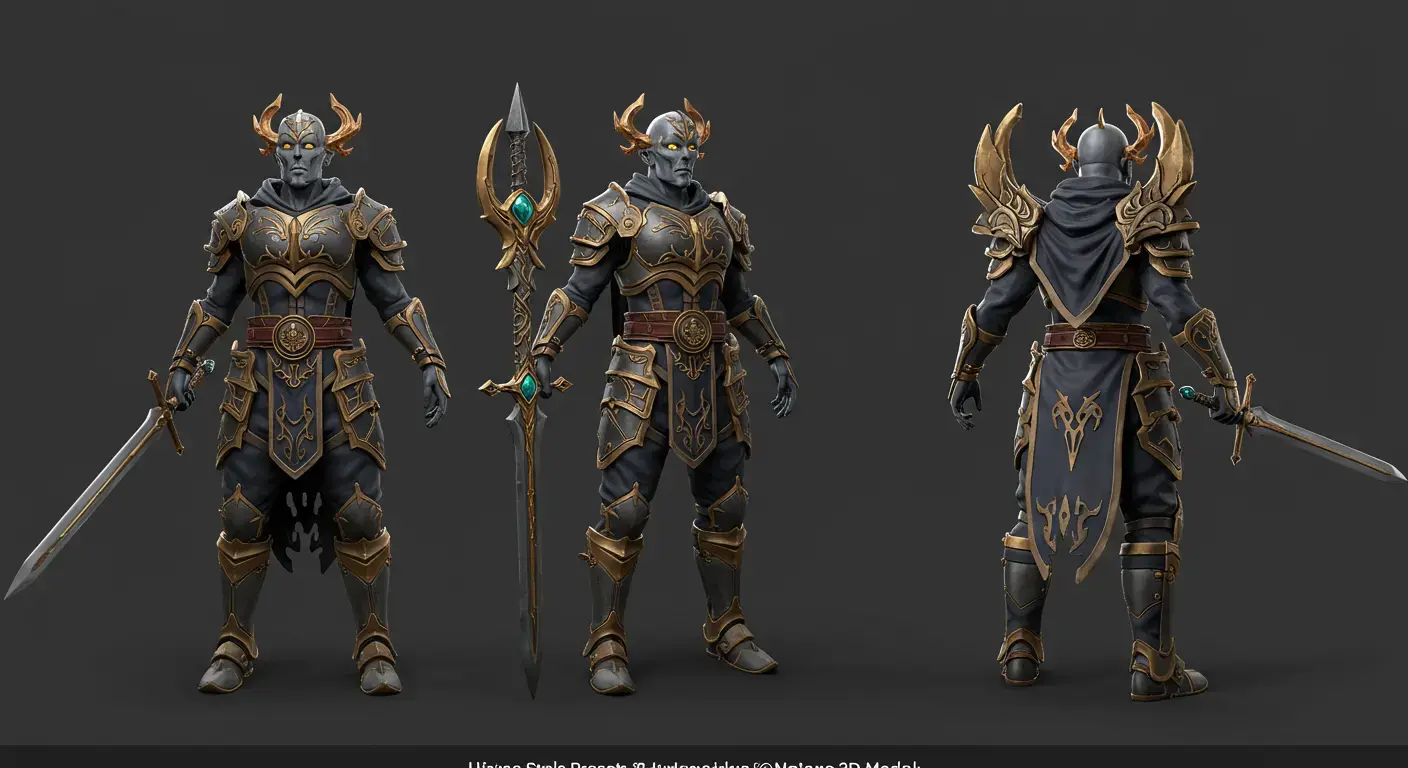
Let’s dive into how you can use Roblox’s latest AI texturing tool alongside Sloyd, a 3D generation platform, to whip up almost any model you need in record time. If you’re new to Roblox development or don’t want to learn complex 3D tools, this approach lets you create custom 3D assets for Roblox in minutes.
I've also made a video showcasing the process, so if you'd rather watch/listen instead of reading then click here.
Step 1: Create Your 3D Model
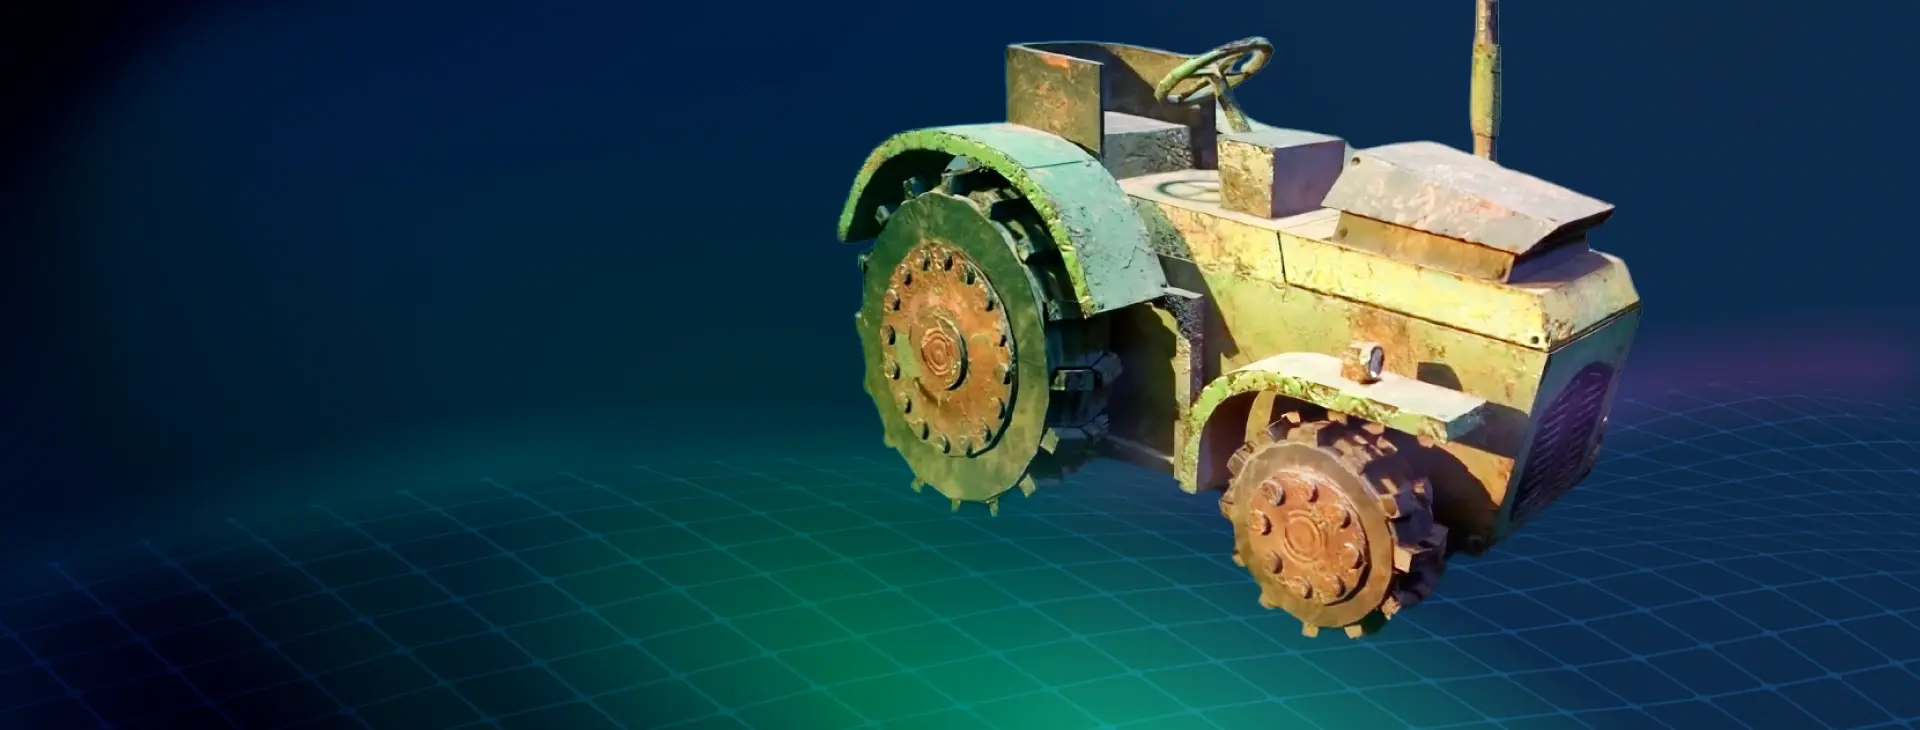
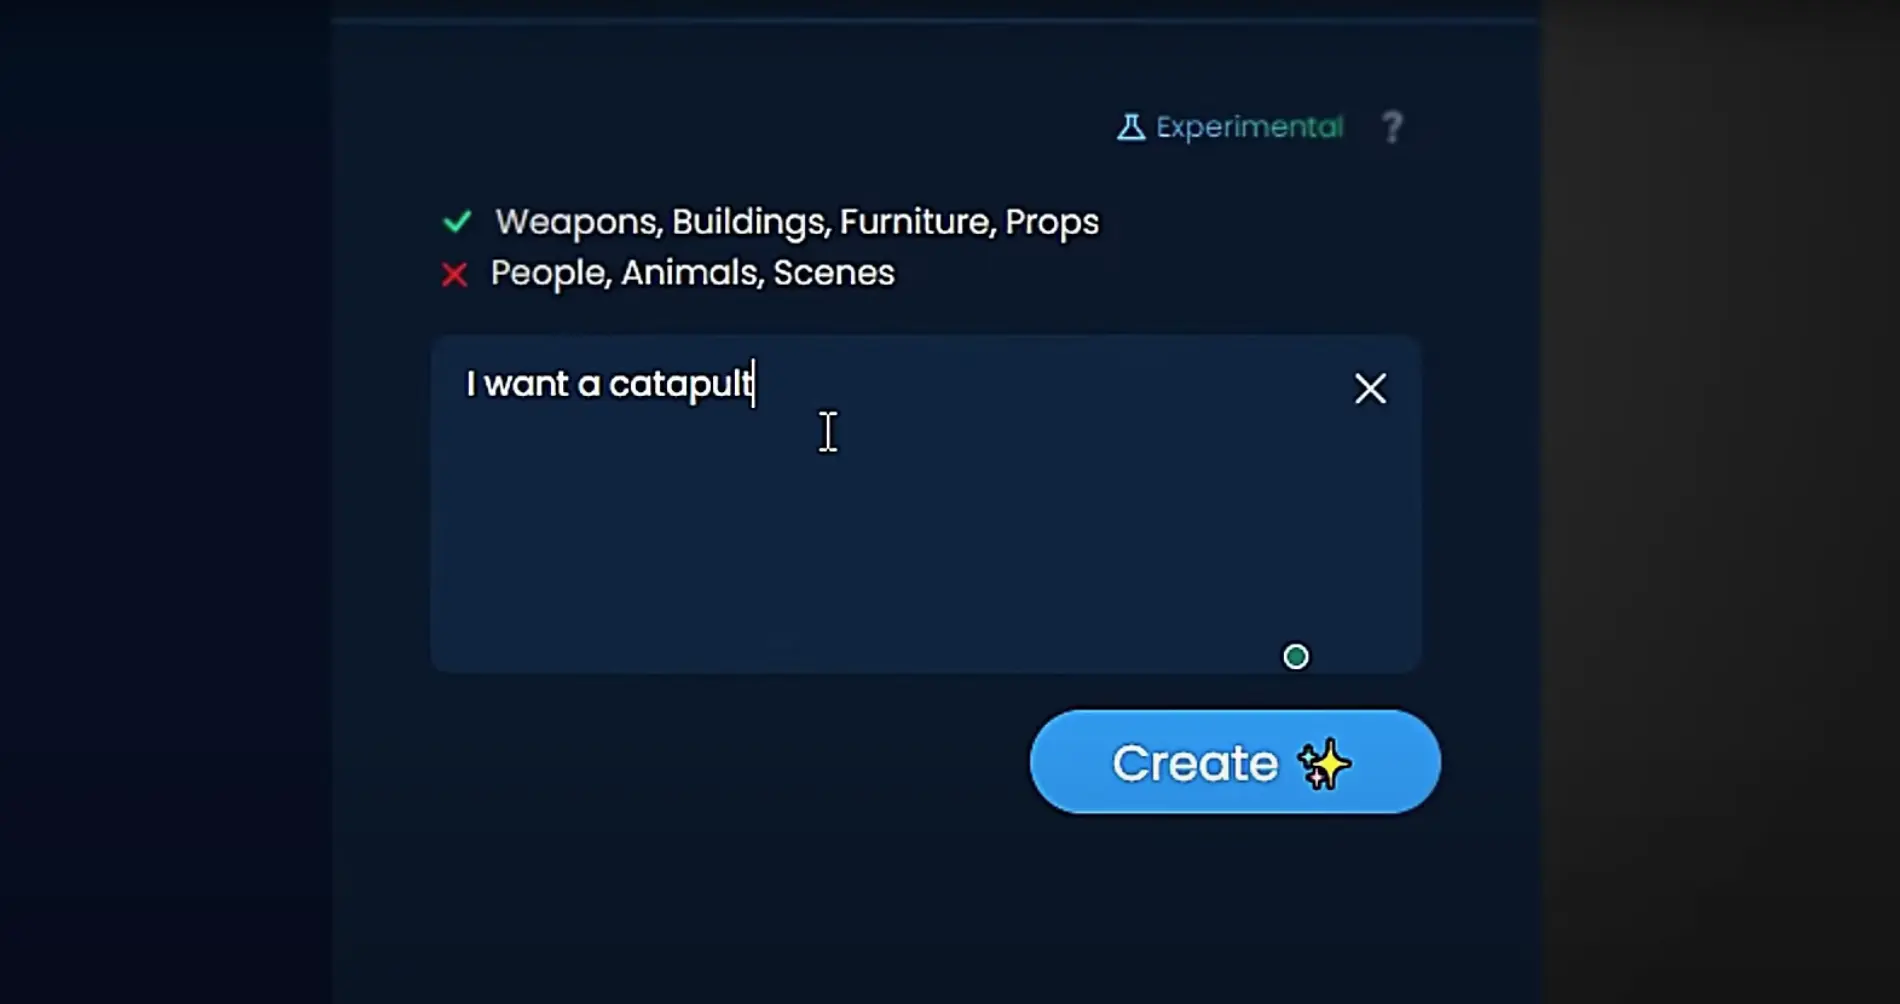
First things first, you’ll want to visit Sloyd.AI and sign up. Hit the ‘Create’ button and you’ll land on a page where you can either pick a pre-existing model or describe what you want to the AI assistant. In my adventure, I aimed for a catapult, because why not?
Step 2: Customize Your Model
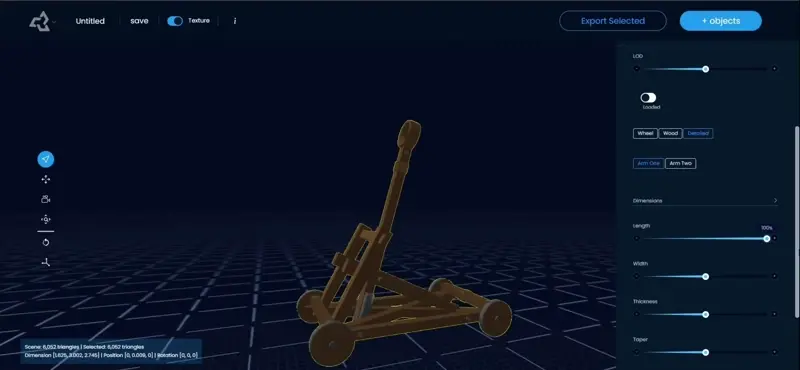
Once your model pops up, play around with the customization options. Sloyd gives you sliders and toggles to tweak your model to perfection. After you’re satisfied, just hit the export button and choose your file format. Whether it’s GLB or OBJ, Roblox is compatible with both.
Step 3: Activate Roblox’s Beta Texturing
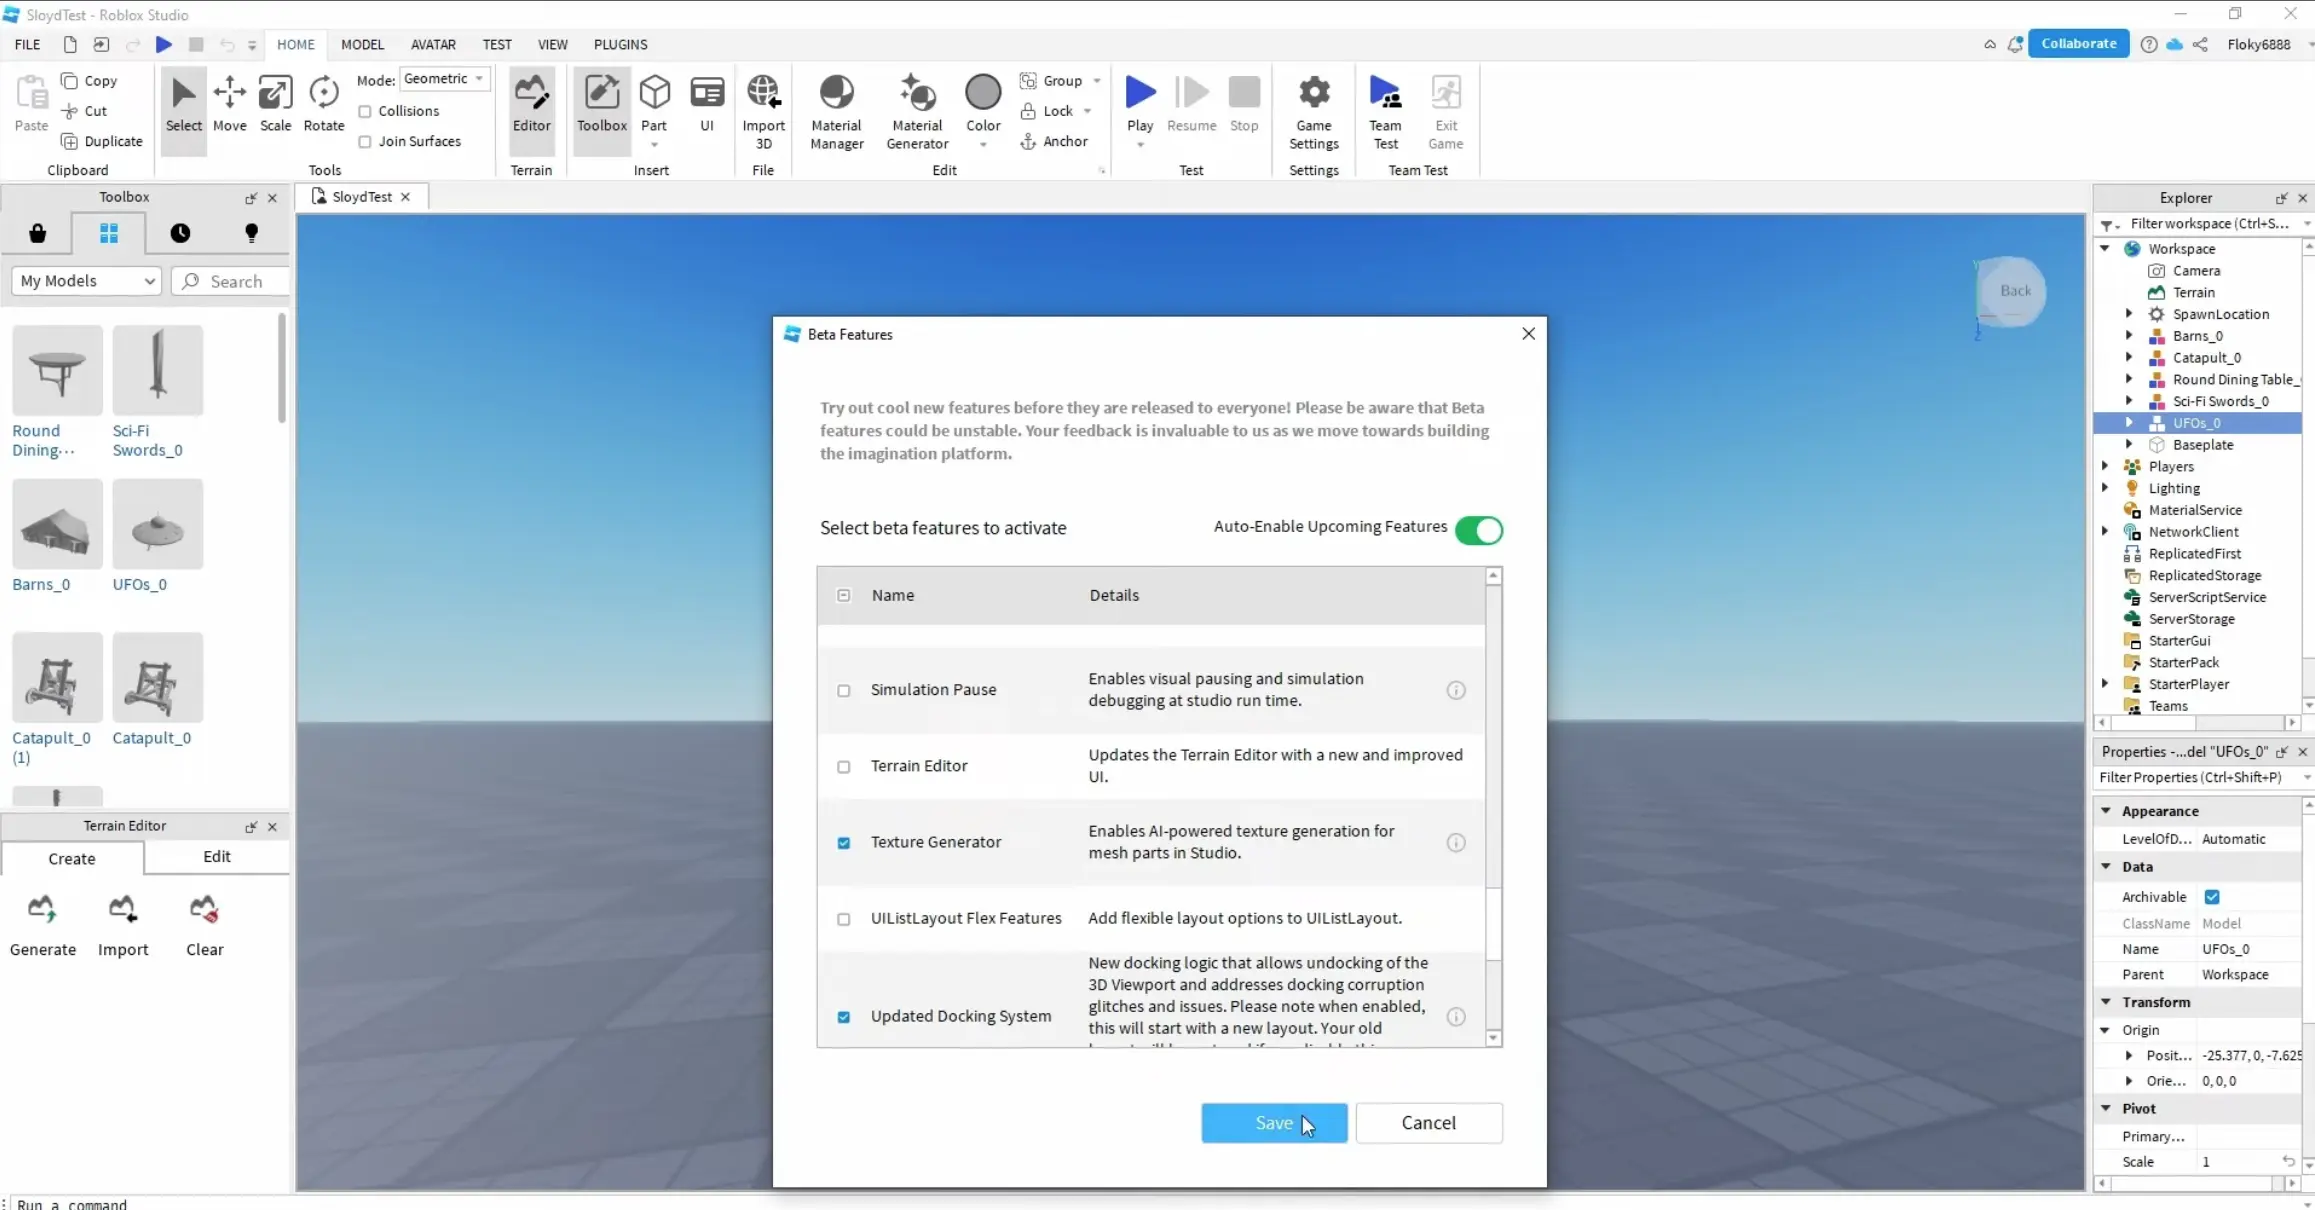
Over on Roblox, navigate to the files tab, then Beta features, and scroll until you find the Texture Generator. Switch it on, save your selection, and restart Roblox Studio to get everything working smoothly.
Step 4: Import and Texture
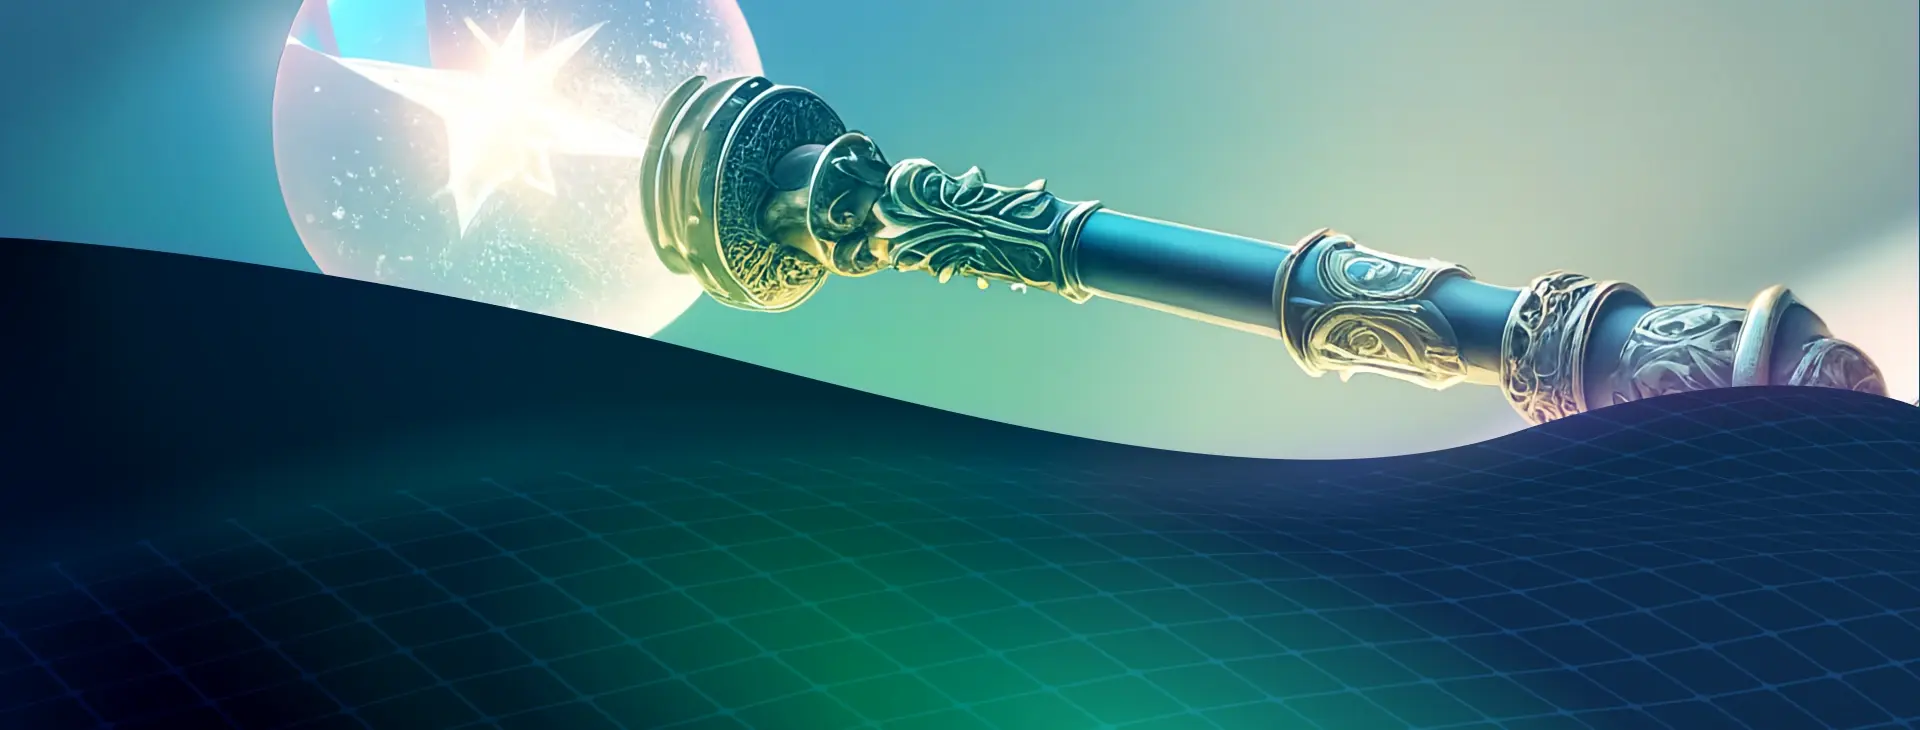
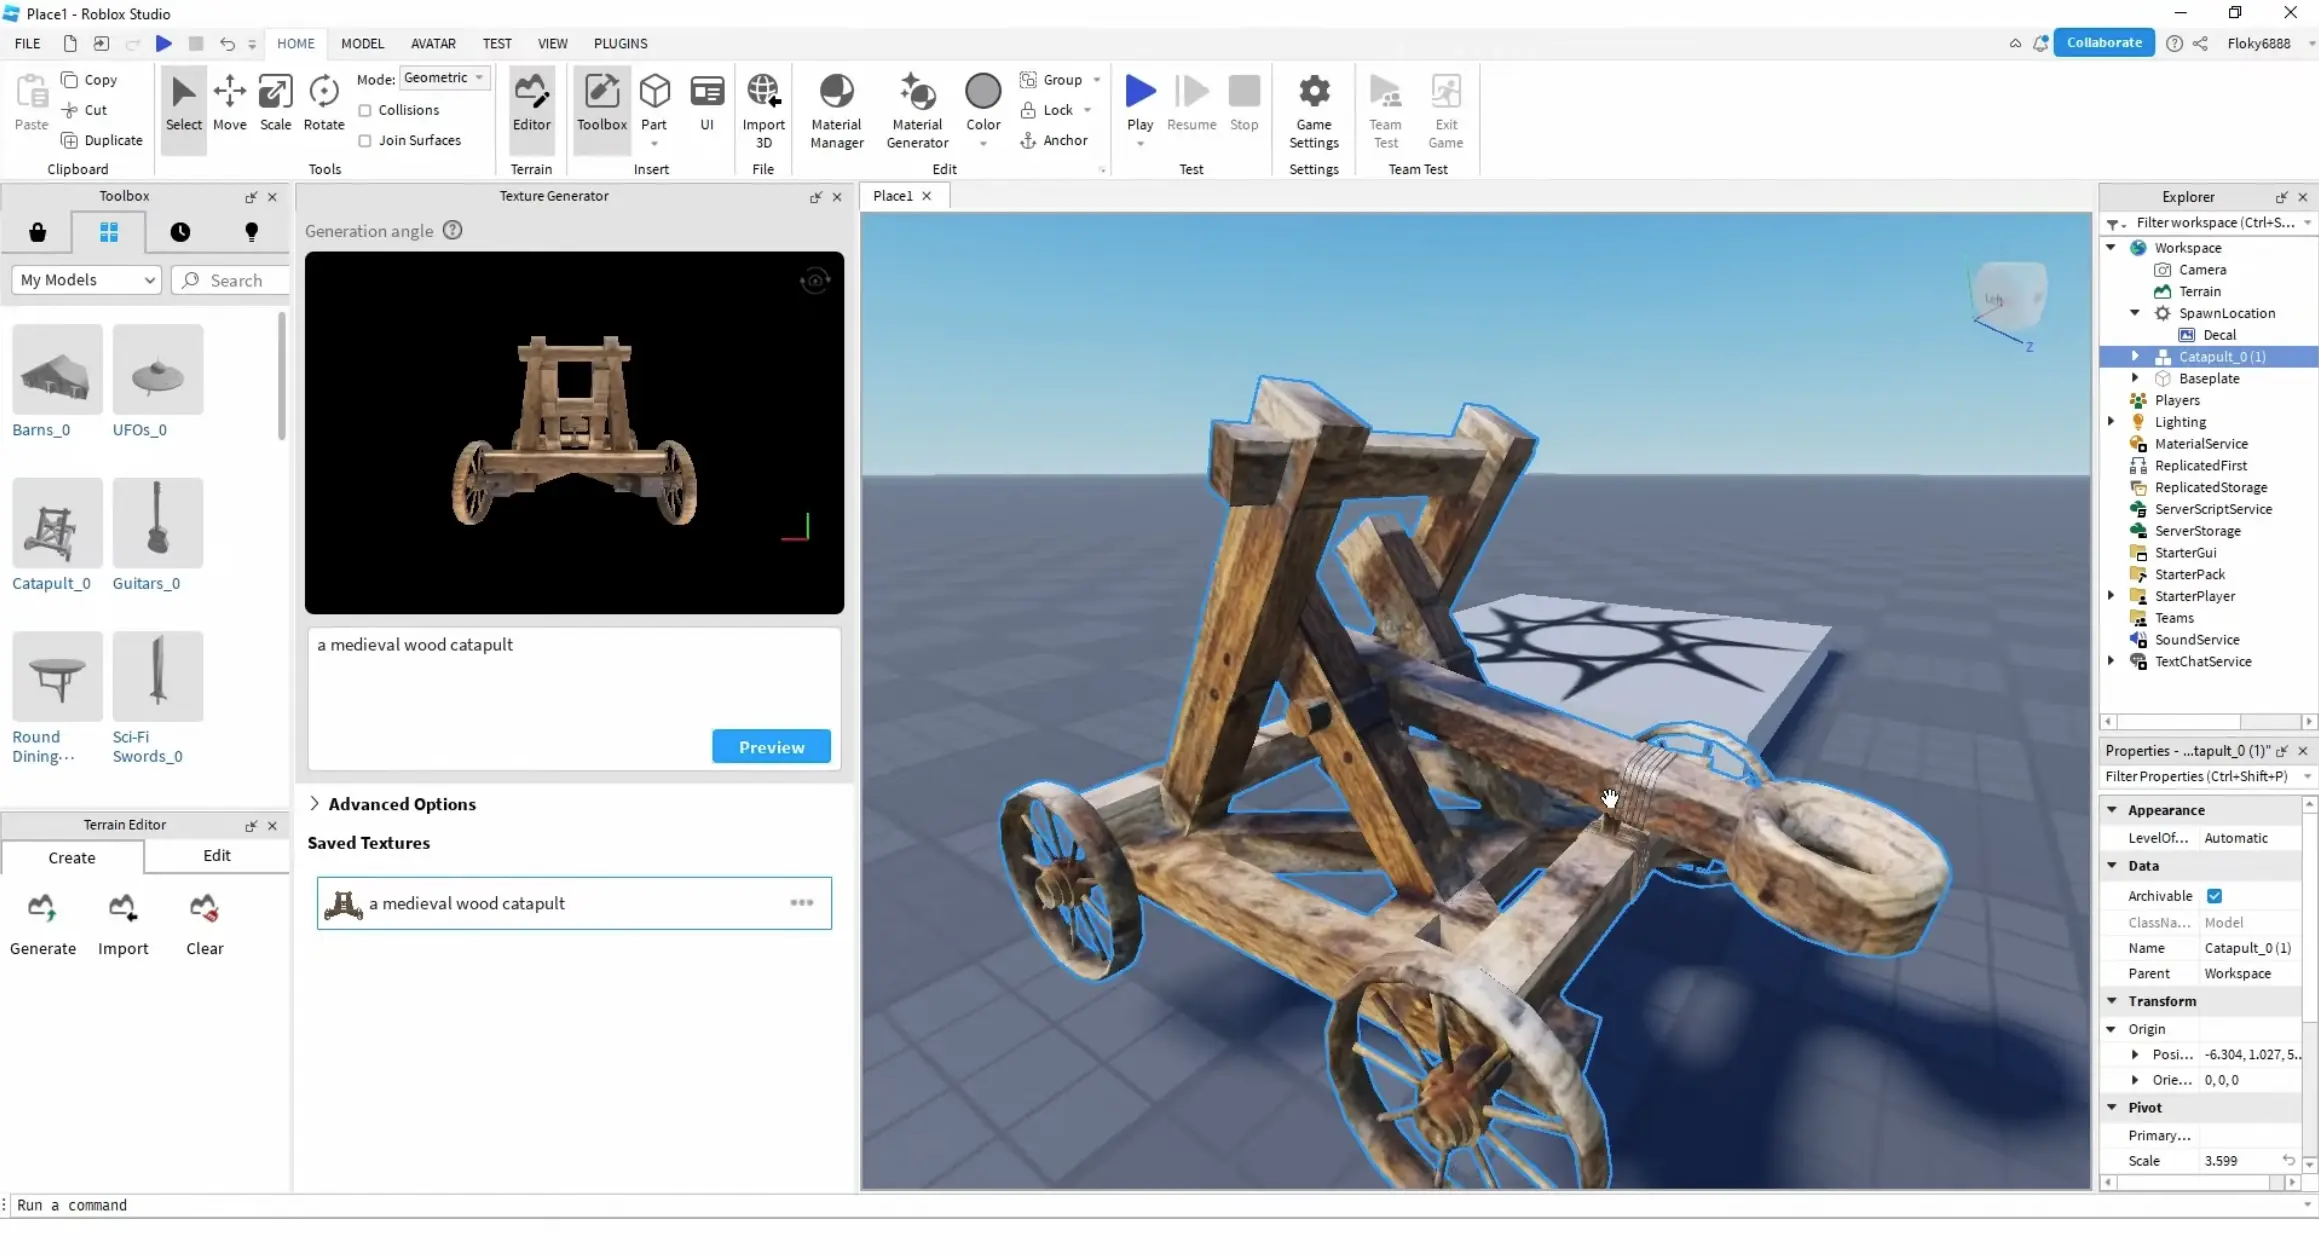
Now import the 3D model you just downloaded by selecting ‘Import 3D’ and open your model file. Next, you'll see a sidebar—this is where the magic happens. If it’s not visible, just go to the Model tab and click on texture generator. Pop in a prompt like "Medieval Catapult" and voilà, watch the AI whip up a cool texture for your model.

Step 5: Apply and Play
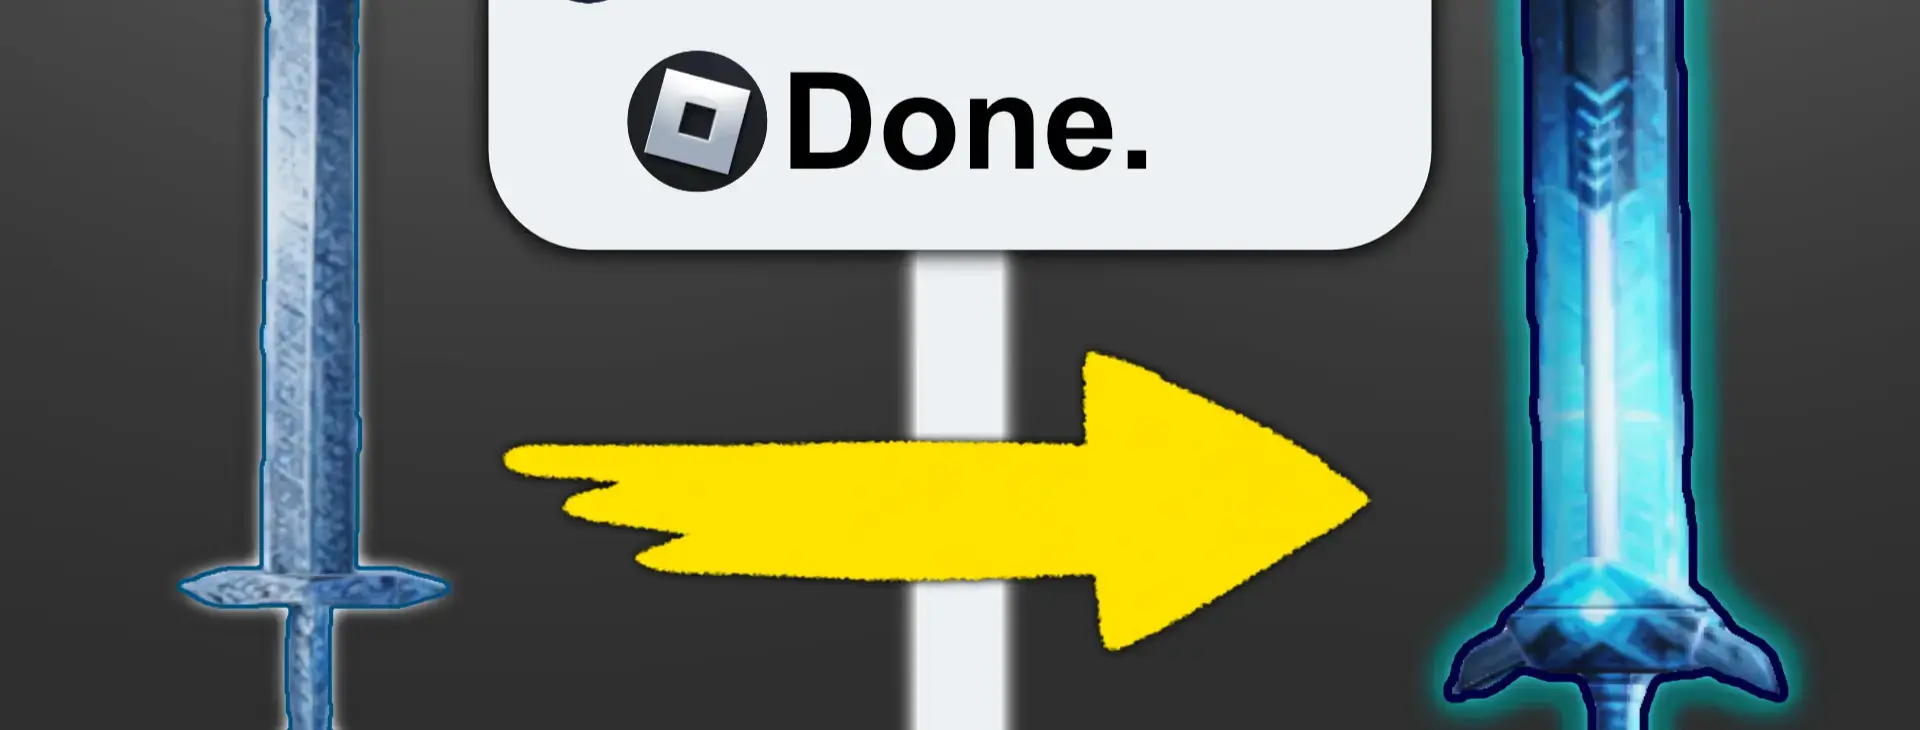
After you press save and apply, your custom textured catapult is ready in your Roblox project. But why stop there? You can generate multiple textures for the same model. Imagine upgrading your catapult to a sci-fi version by just prompting the Texture Generator with "Sci-fi catapult". And just for kicks, I created a sci-fi sword using the same steps.
Experiment and Enjoy
While the textures aren’t AAA quality yet, they’re seriously impressive for how quick and easy it is to create them. This tool is still in its early stages, so I can only imagine the possibilities as it evolves.
If you’re curious, check out Sloyd.ai. You get unlimited models on the paid plan. This way, you can focus more on your game mechanics and less on the grunt work of asset creation.